The new PixVerse v2.5 UI is live, further optimizing the user creation experience. The new PixVerse UI is live, further optimizing the user creation experience. Key updates include:
- All-in-One Creation Panel: The floating panel integrates all features, allowing you to create instantly from any screen without switching between different modules.
- Home Inspiration Library: Curated collection of the world’s most creative videos, with templates that can be applied in one click to easily recreate popular content.
- Flexible Workspace: Efficiently manage your generated videos with both single-video and multi-video views.
- Better Compatibility: Improved generation steps and function layout, offering smooth creation across desktop, iOS, and Android.
This article provides a detailed introduction to the functionality of each module in the new UI, helping you smoothly create your own works.
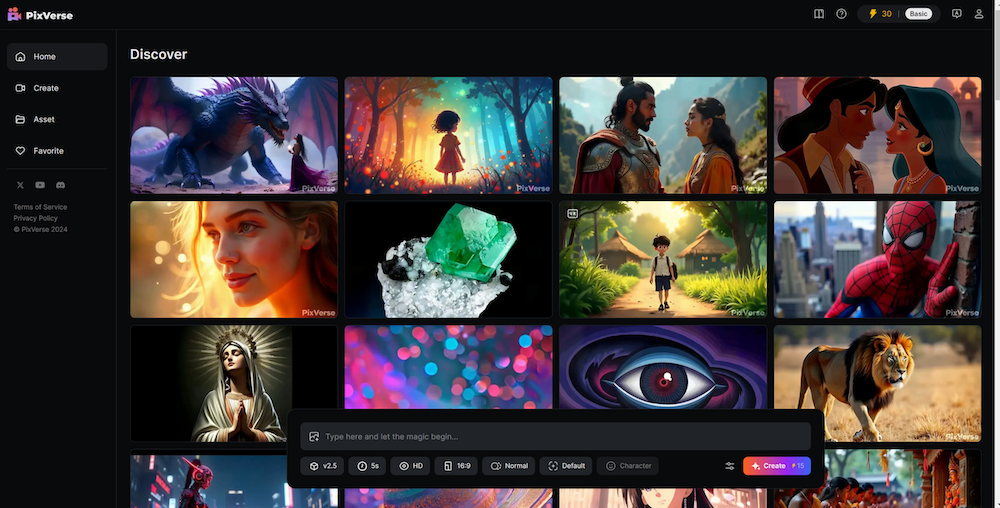
Home
The Home (首页) provides access to a vast library of creative templates. Here, you can discover videos created by other users, gain creative inspiration, and create similar videos with a single click.
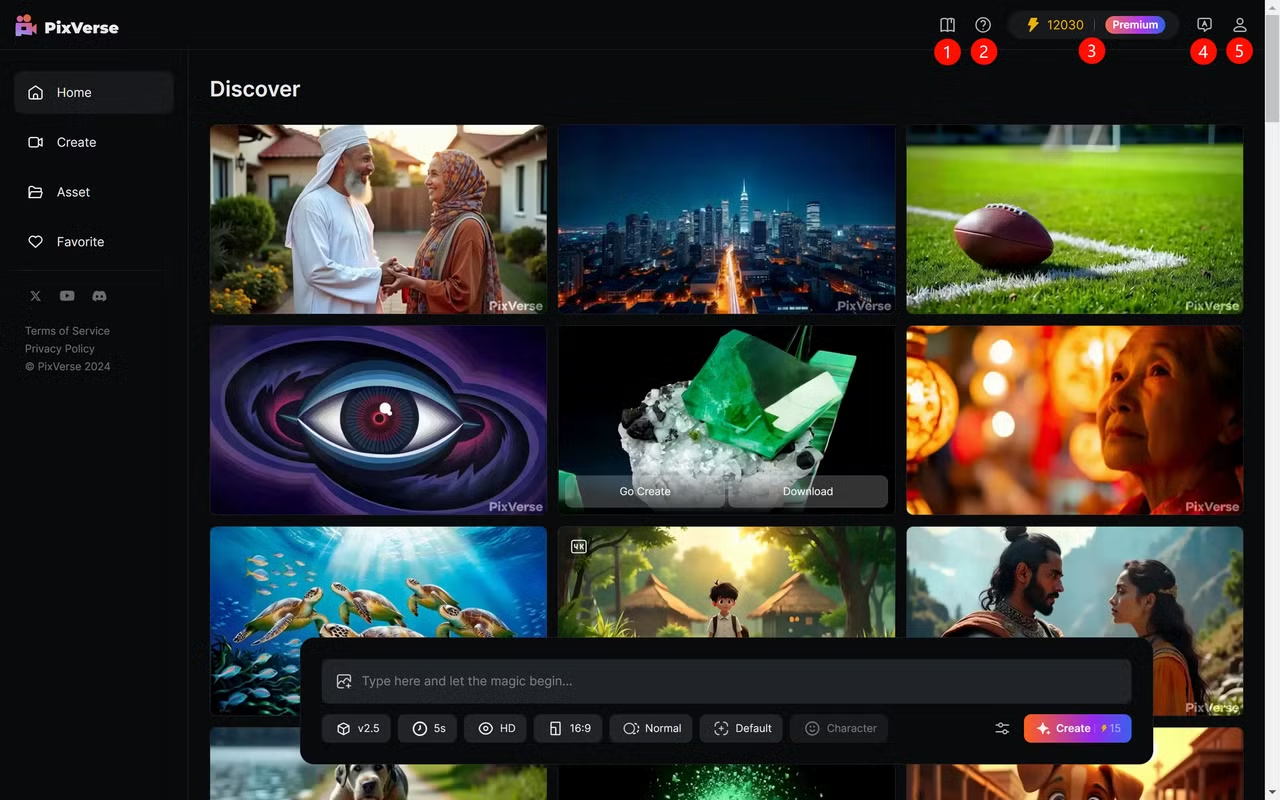
As shown in the image:
- User Guide Entry: Here, you can access all official PixVerse guides.
- FAQ Section: If you encounter any issues during use, this is the first place to check for quick resolution.
- Current Points and Membership: Displays your current points and membership tier. Click to manage your subscription in the membership area.
- Language Switch: Switch between available languages here.
- Personal Account: Click to view your account ID, login email, and change your password. When contacting official support, include the account ID displayed here to help staff quickly and efficiently resolve your issue.
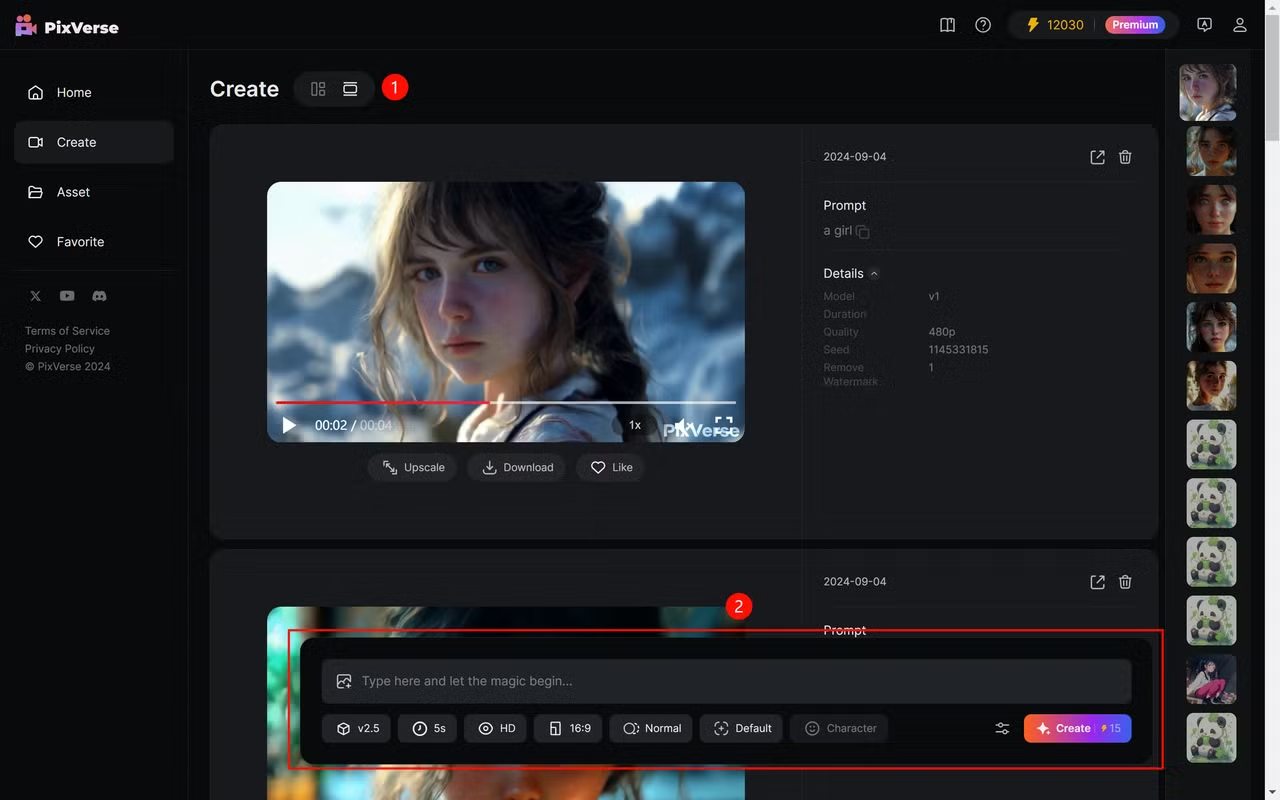
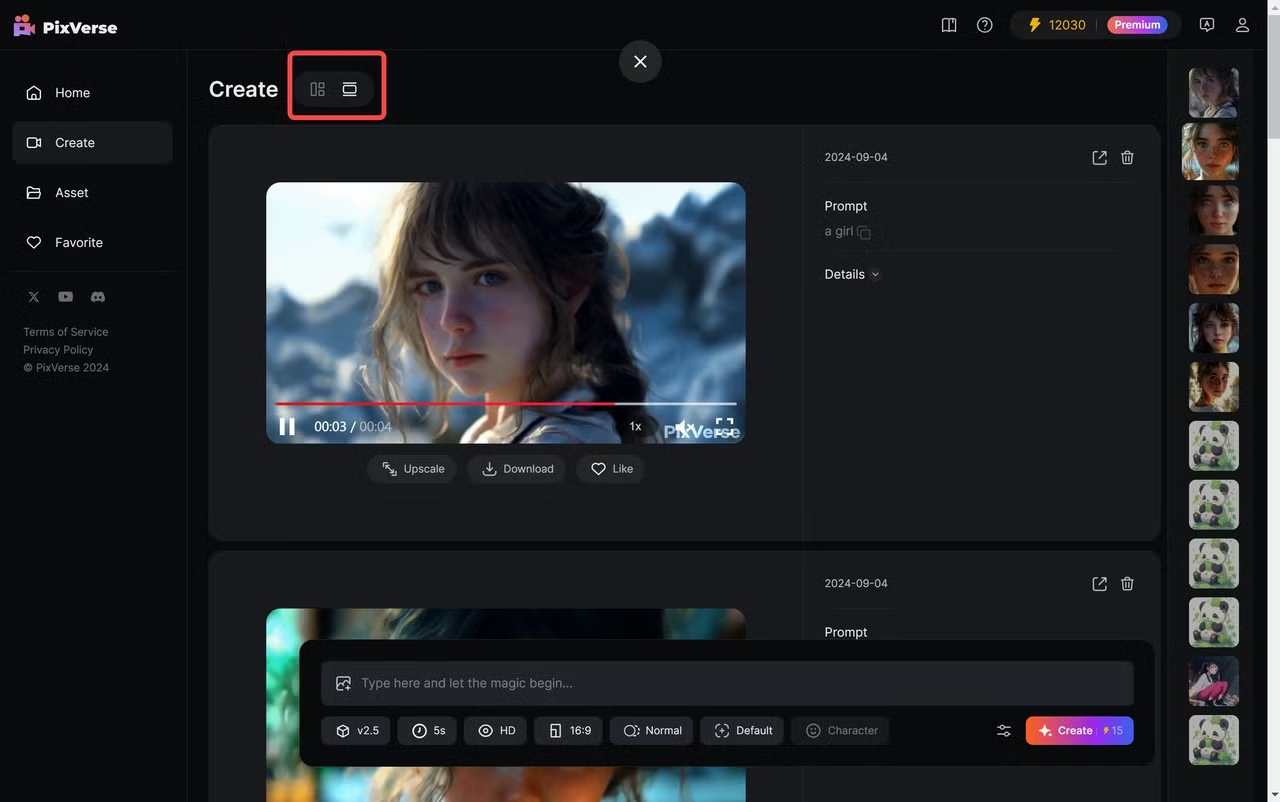
Creation Interface
Click Create to enter the creation page.
- Layout Switcher: Change the page layout to your preferred video layout.
- Creation Panel: This floating panel stays on the screen to avoid the hassle of switching between different modules.
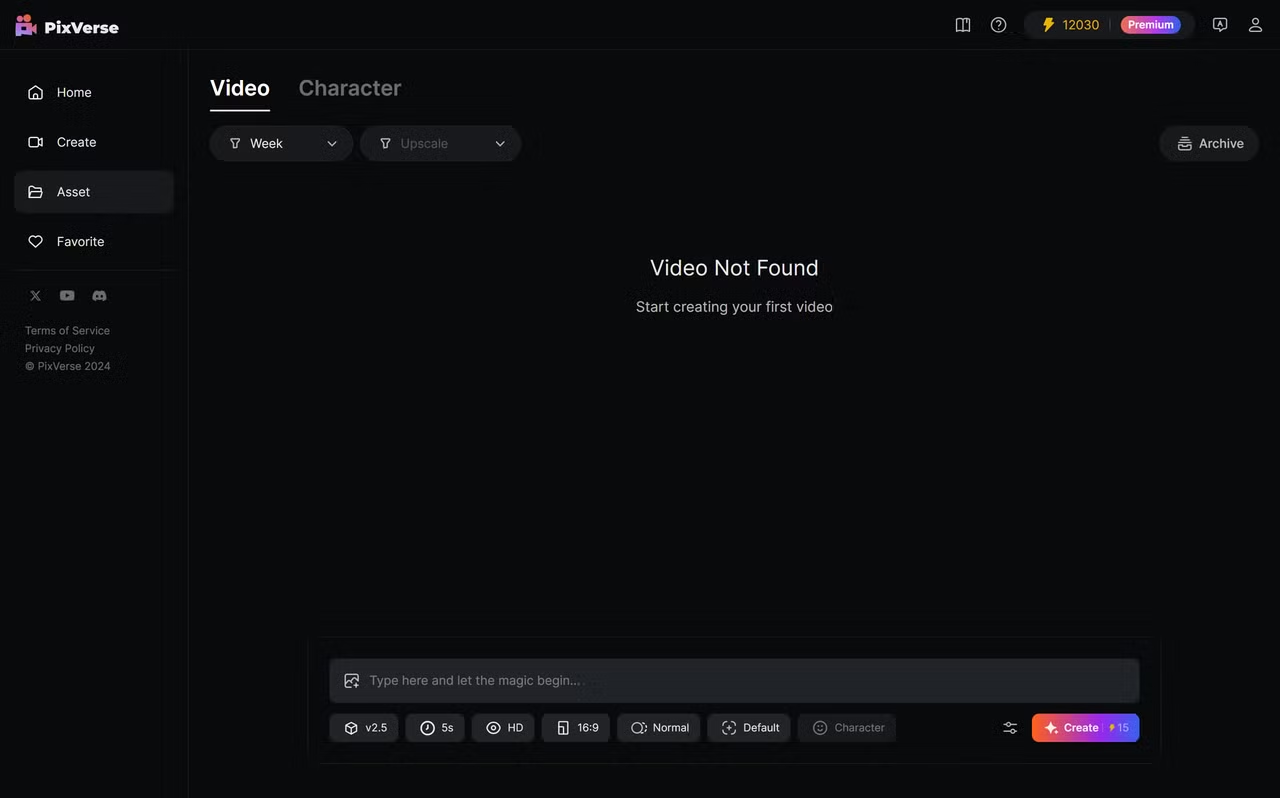
Assets
All videos you generate are stored here in Assets (资产), including the characters you create.
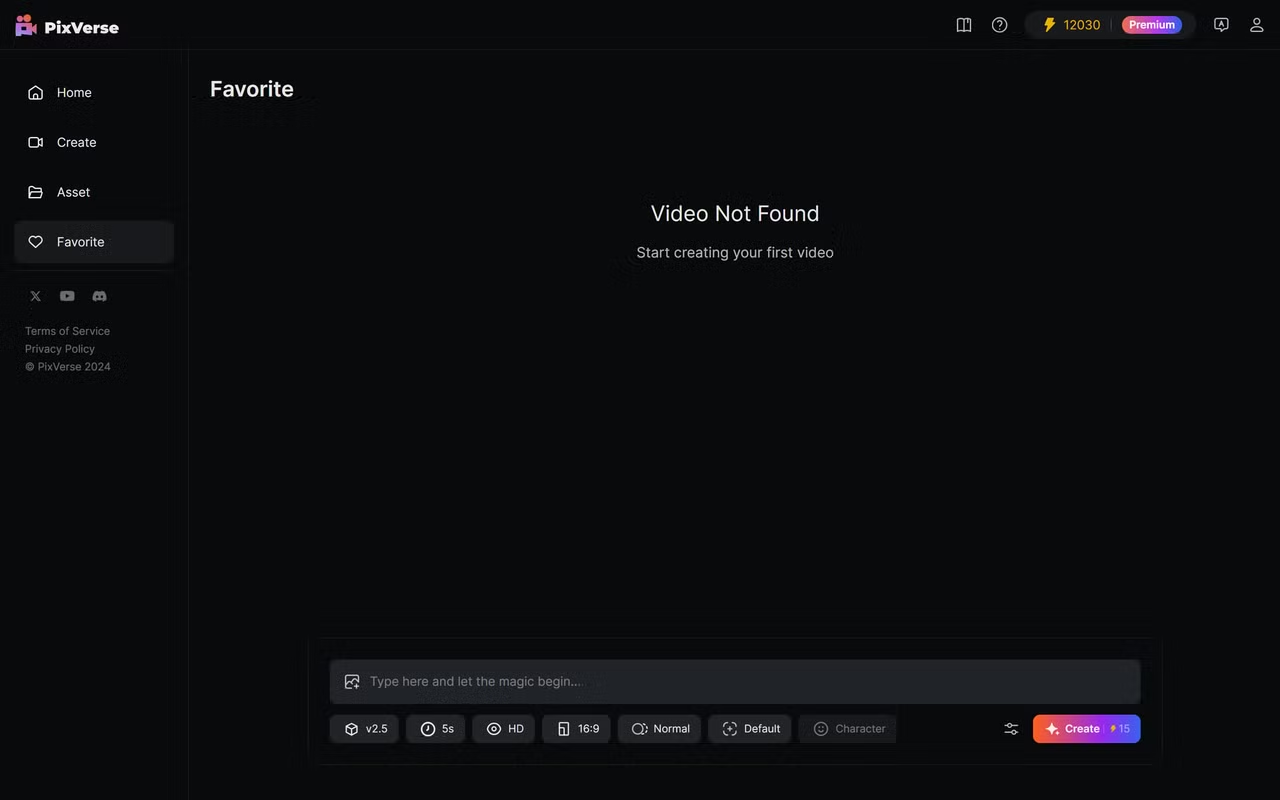
Favorites
This section contains your favorite videos, making it easy to find the videos you love most.
PixVerse V2.5 Feature Introduction
1. Creation Panel
To simplify user creation, all creation features are consolidated into the floating panel. Below is a detailed explanation of each button.

1.1 Upload Image
Convert images into videos. (Previously “Image to Video”)
1.2 Enter Prompt
Input the content you want to generate as a prompt. Prompt writing tips can be found here:
- PixVerse Prompt Tips (Basic Edition)
- PixVerse Prompt Tips (Advanced Edition)
- PixVerse Prompt Selection
You can upload an image, write a prompt, or do both.
1.3 Model Switch
- Currently supports V2.5 only.
1.4 Video Duration Switch
Supports switching between 5s and 10s video durations.
1.5 Video Quality Switch
- V2.5 supports HD quality.
1.6 Aspect Ratio Switch
- V2.5 currently supports 16:9 only, with more aspect ratio options coming soon.
1.7 Normal Mode/Performance Mode Switch
Performance mode offers greater motion than normal mode.
1.8 Camera Control
Control camera movements using the corresponding buttons.
1.9 Character-to-Video
Generate videos based on the characters you upload, ensuring character consistency.
1.10 Other Features
Additional options include Reverse Prompt, Seed, and Watermark Removal.
1.11 Generate
Click to generate the video.
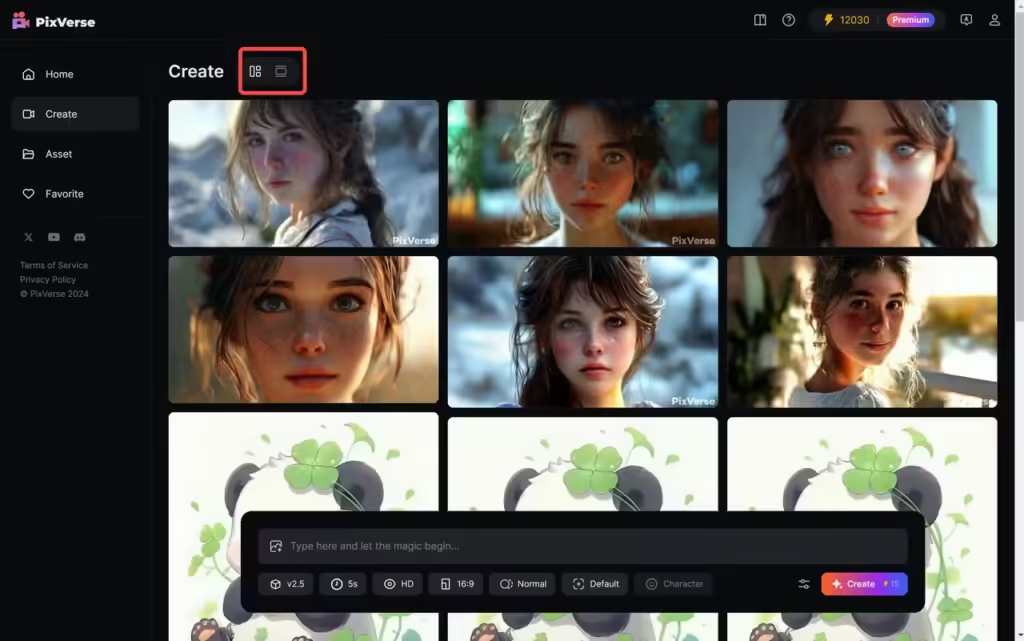
2. Layout Switch
Click the icon to change video layout, allowing you to select a mode that suits your preferences.
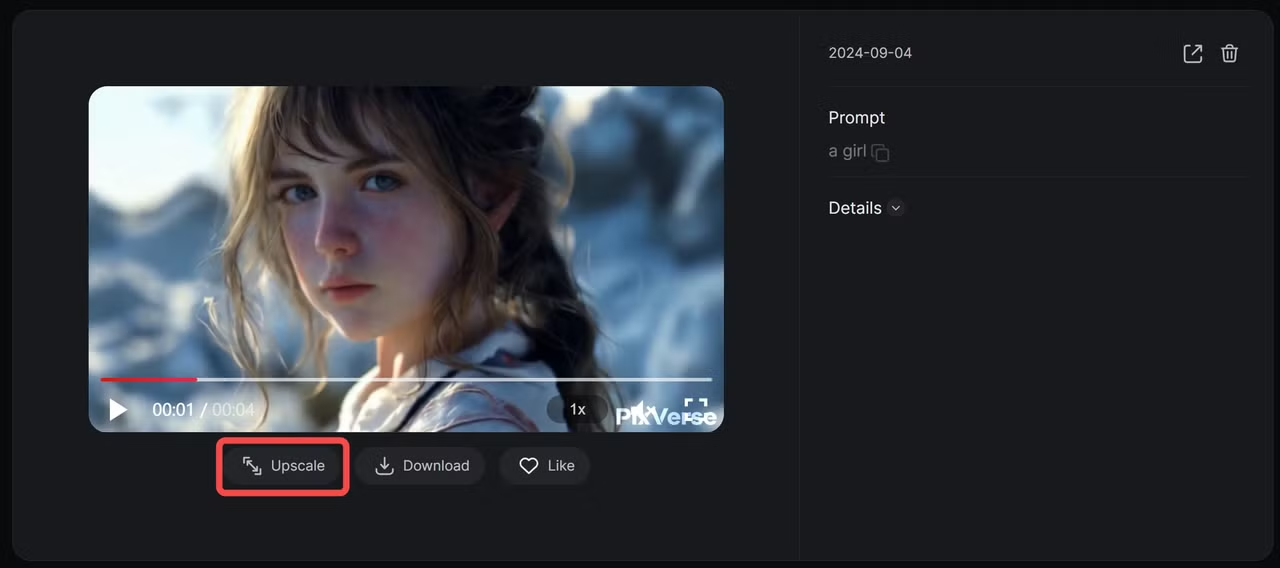
3. Upgrade Video Quality
Click “Upscale” to upgrade your video to 4K.
Please note that upscaling consumes credits, so use it carefully.
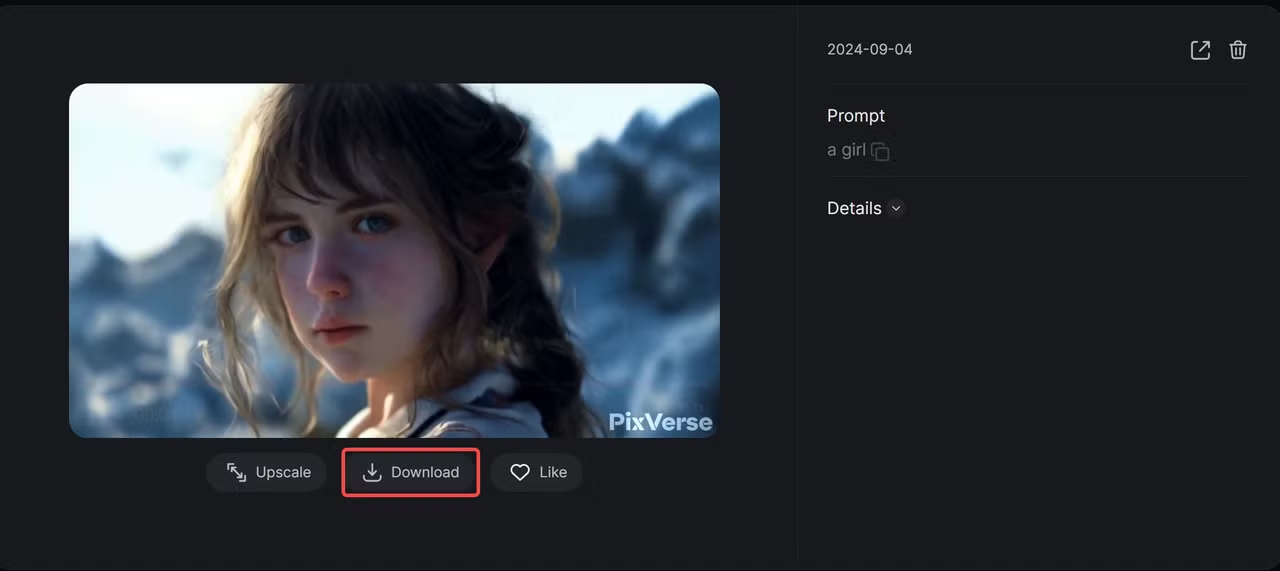
4. Download Video
Click “Download” to download the video.
5. Favorite Video
Click “Like” to favorite videos you enjoy. Favorited videos can be found in the Favorites page.
6. Delete Video
Click to delete the video.
Deleted videos can’t be restored, so use this feature carefully.
7. Share Video
Click to get a direct link to share the video.
8. Copy Prompt
Click to copy the prompt with one click.
9. View Video Details
Click “Details” to view detailed information about the video.
Read related articles: