PixVerse AI is a next-generation tool that allows you to turn text and images into long-form AI-generated videos. This guide will walk you through the basic steps of using PixVerse AI, from signing up to creating your own videos. Whether you’re new to AI video generation or looking to explore advanced features, this guide has you covered.
Getting Started with PixVerse AI
To begin, visit Web version of the Platform at PixVerse.ai and click on “Try PixVerse” button.
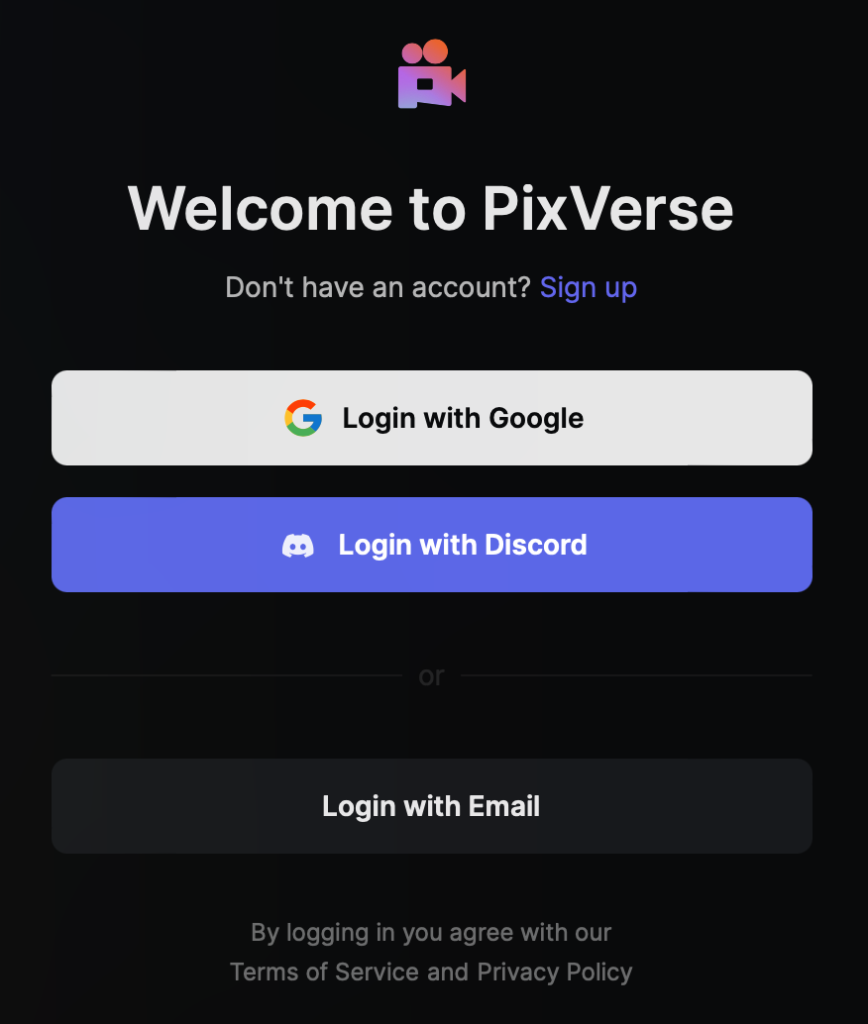
You’ll need to sign up to access the platform.
Once signed up, you’ll be directed to the PixVerse dashboard.
The first tab you’ll see is the “Discover” view, showcasing popular videos generated by the community. Here, you can view different generations, see the prompts and settings used, and even regenerate or upscale these videos yourself. Additionally, you can save videos to your favorites or download them for personal use.
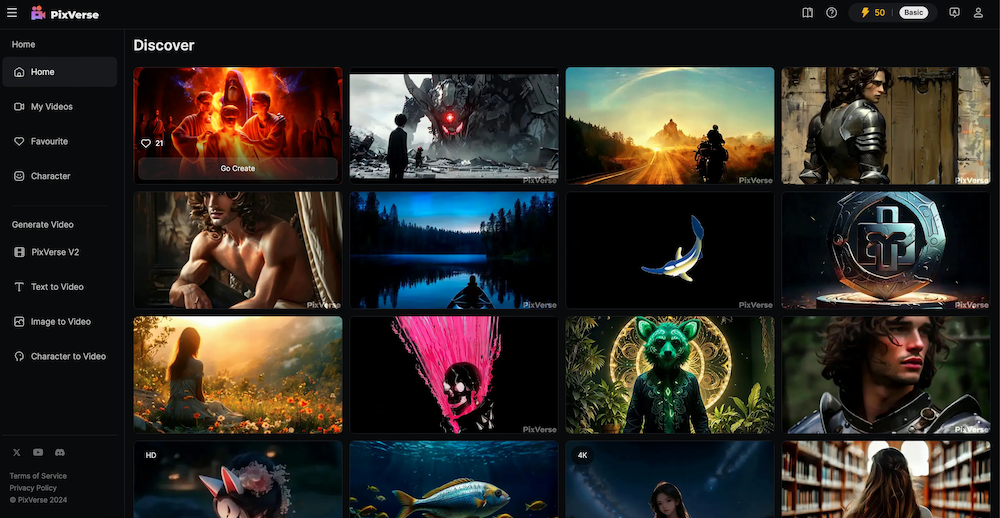
To start creating, click on the “Create” button. This will take you to the PixVerse Editor, where you can choose between text or image-based video generation.
Creating Videos Using Text Prompts
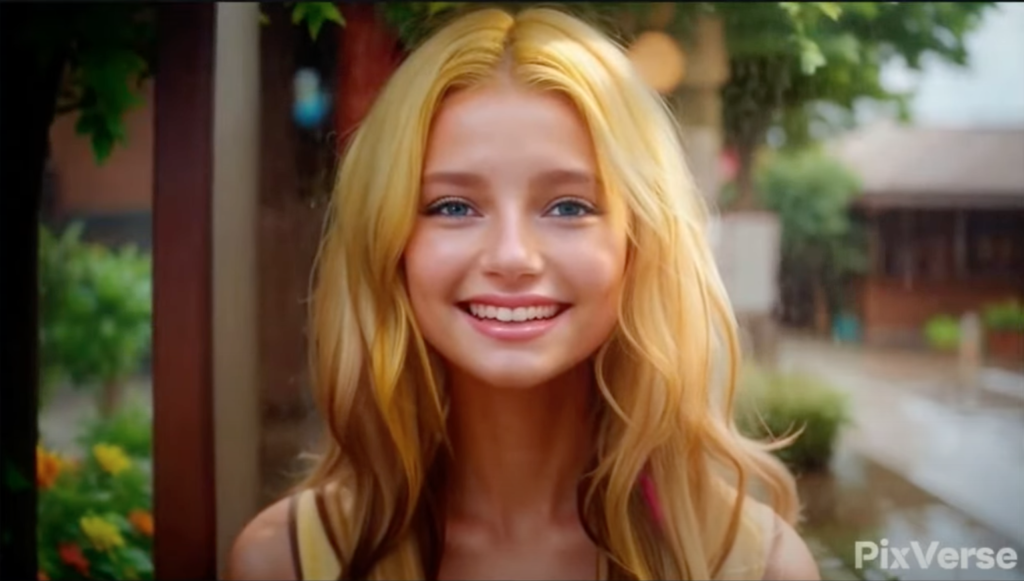
In the PixVerse Editor, you can create videos by simply typing a text prompt. For example, if you type “create a blonde woman who is outside while it is raining, looking very happy with a smile on her face, beautiful colors,”.
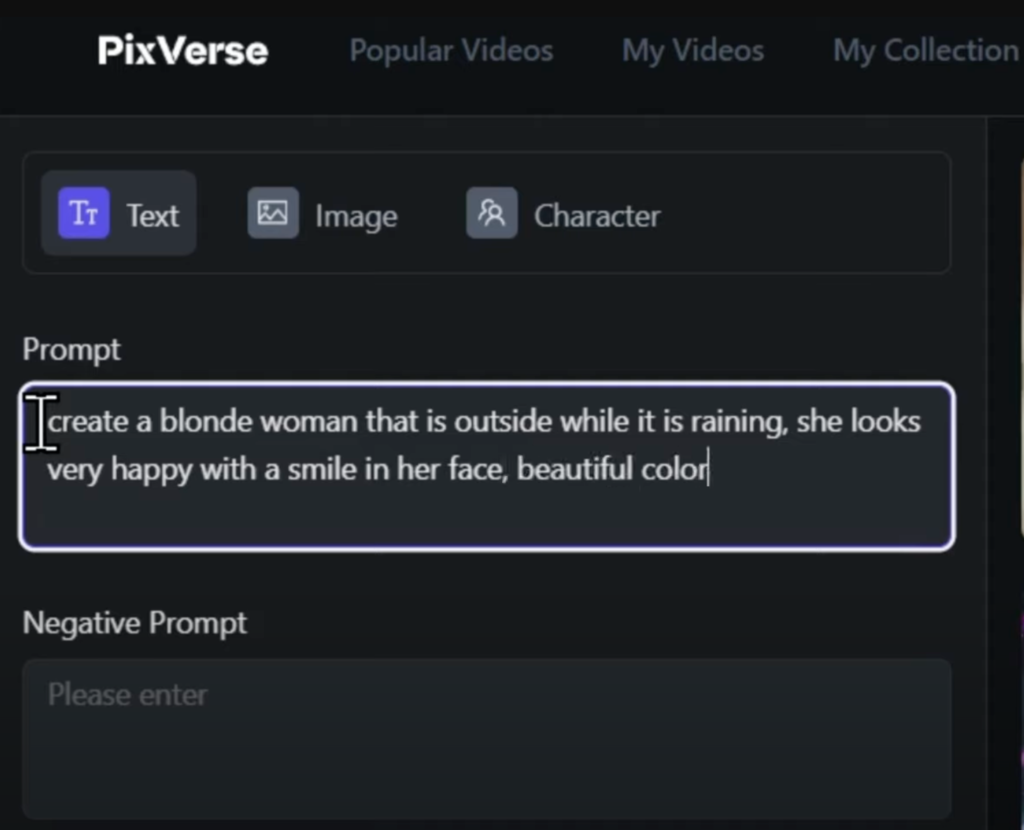
PixVerse AI will generate a video based on your description. You can also use the “Negative Prompt” feature to exclude specific elements from your video, such as “deformed hands” or “multiple fingers.” you may also be interested in our PixVerse Prompt Tips.
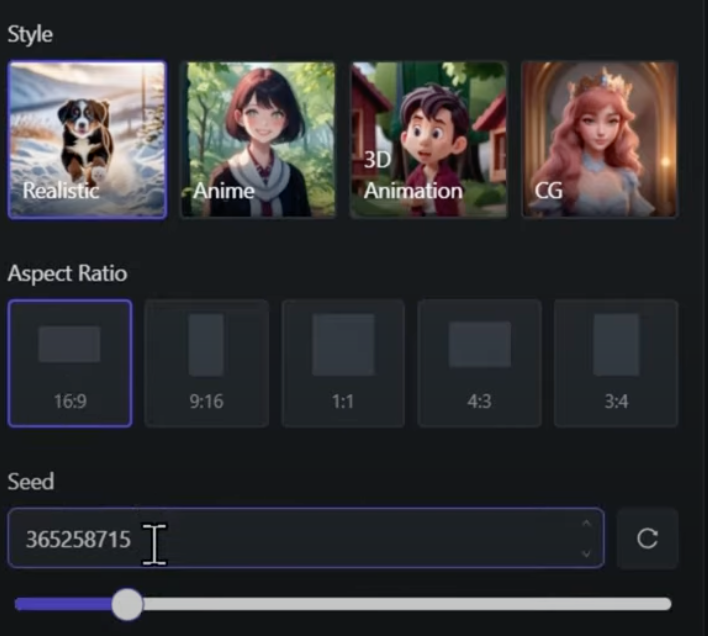
Once you’ve entered your prompt, you can select the style of the video, such as realistic, anime, or 3D animation. You can also choose the aspect ratio and adjust the seed number, which is a unique identifier for your generation.
After finalizing your settings, click “Create” and wait for the AI to generate your video.
If you’re satisfied with the result, you can upscale the video, save it to your favorites, or download it.
Generating Videos with Images
PixVerse also allows you to create videos using images as a guide. To do this, select the “Image” option in the PixVerse Editor. Upload an image, such as a picture of Iron Man, and PixVerse AI will animate the image based on your prompt or its own interpretation.
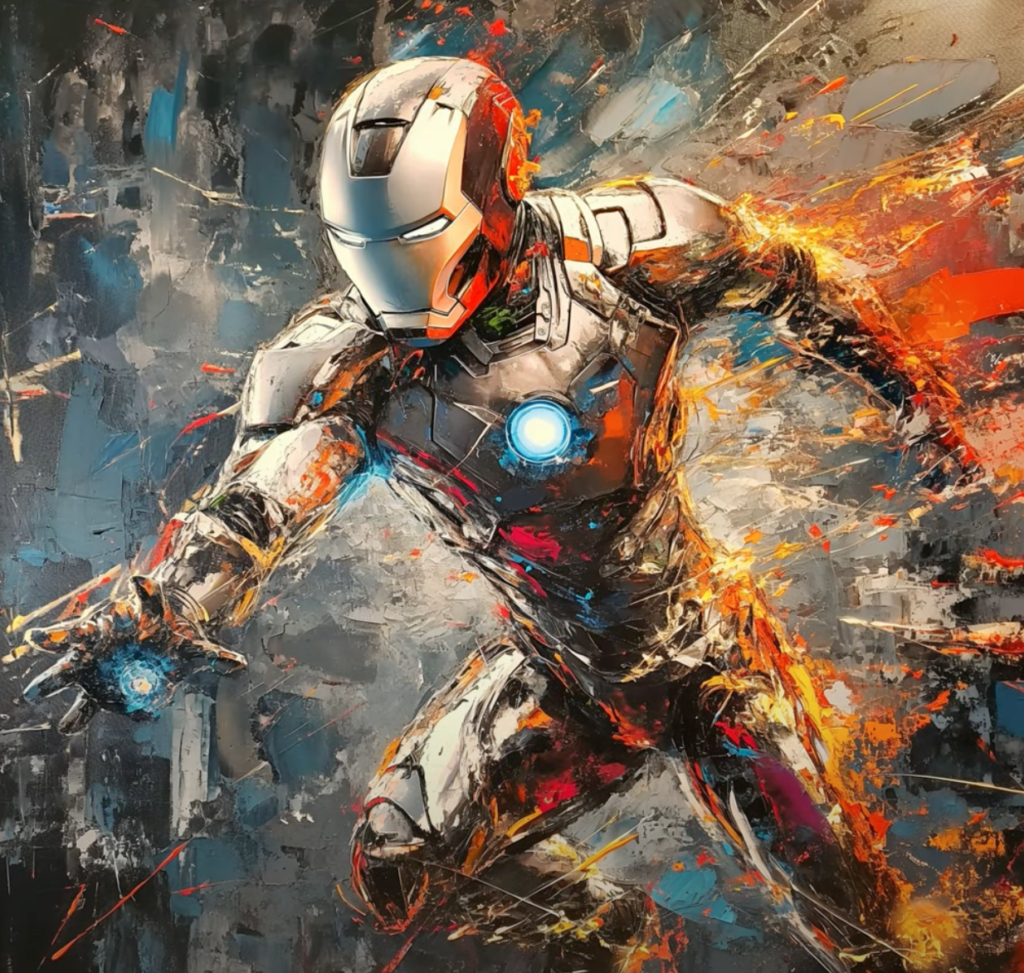
You can control the camera motion, adjust the movement strength, and choose whether to generate in HD quality. Once you’re happy with your settings, click “Create” and let the AI work its magic. The generated video can be upscaled, saved, or downloaded just like the text-based videos.
Using Characters in Video Generation
One of PixVerse AI’s standout features is the ability to create videos featuring specific characters. To create a character, go to the “Character” tab and upload an image. Name your character, and PixVerse will use this character in multiple video generations. You can then use the character in different scenes by typing prompts that change their environment, expressions, and actions.
For instance, you could type “make her be outside her house in a big city and give a slight smirk at the camera” to see how well PixVerse maintains character consistency across different settings.
After creating your video, you can always regenerate it to achieve different results. If you’re pleased with your creation, you can upscale and download the video or save it to your favorites.
This guide should help you get started with PixVerse AI and explore its many features. For more in-depth tutorials on other text-to-video generators, check out our other articles.
Read related articles: