Experience seamless style transitions while maintaining your PixVerse character’s identity. Explore endless possibilities with PixVerse Character to Video function in details below.
1. Accessing Character Feature
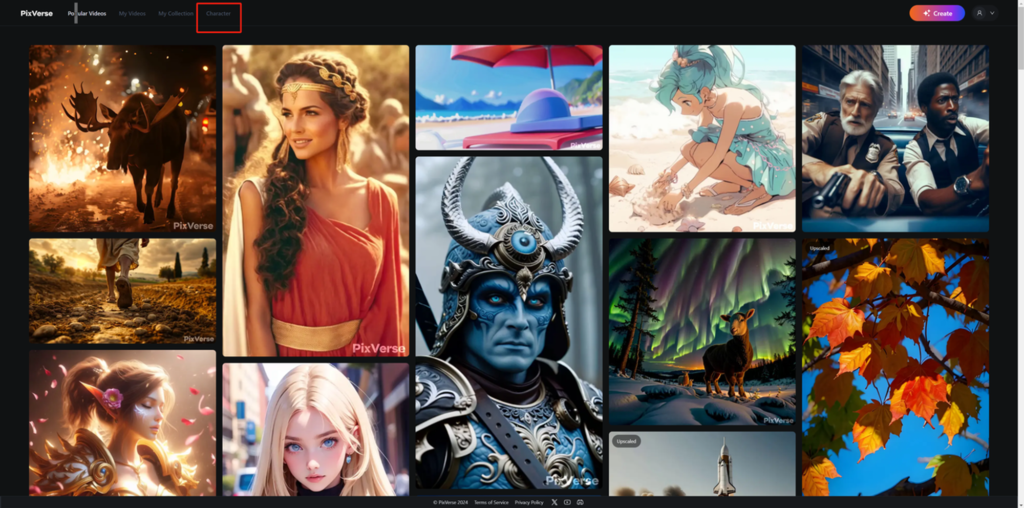
Start on the main page of the application or website. Look for the option labeled “Character” and click on it to proceed.
2. Click Create Character
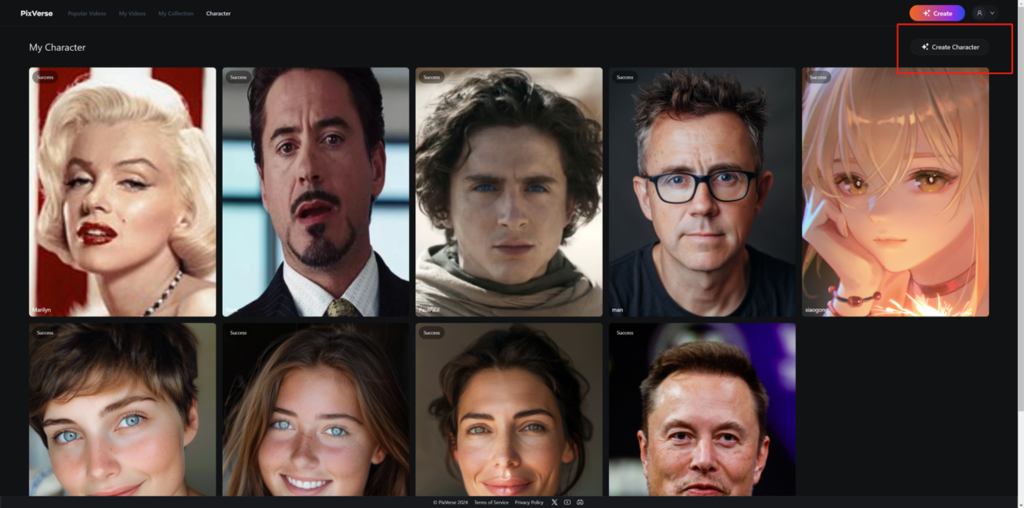
3. Creating Your Character
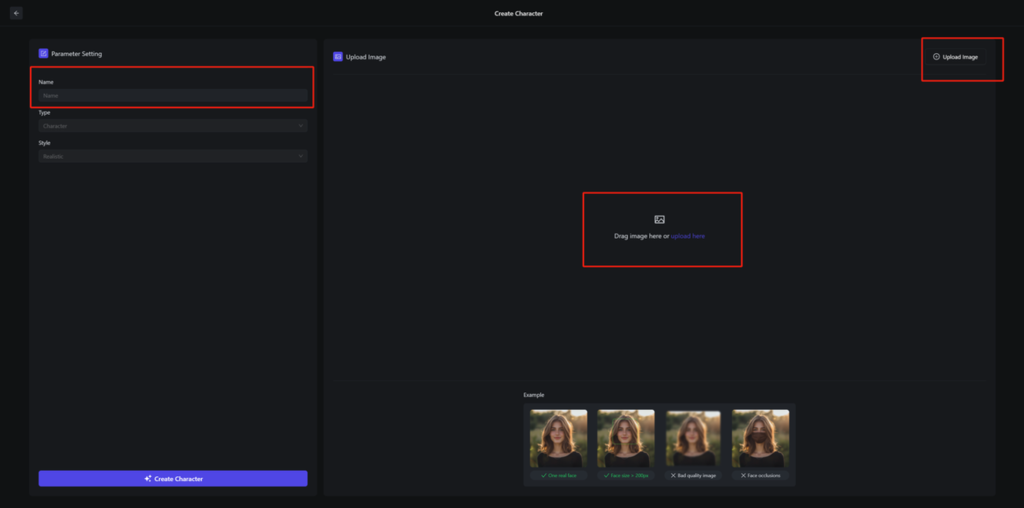
- Uploading an Image: Begin by uploading the image that you want to use for your character’s face. You can do this either by clicking on the designated upload area or by dragging the image file into it.
- Naming Your Character: Once the image is uploaded, enter the name you wish to give your character in the specified field.
- Finalizing Your Character: After naming your character, click on the “Create Character” button to complete the creation process.

4. Finish Creating Your Character to Video
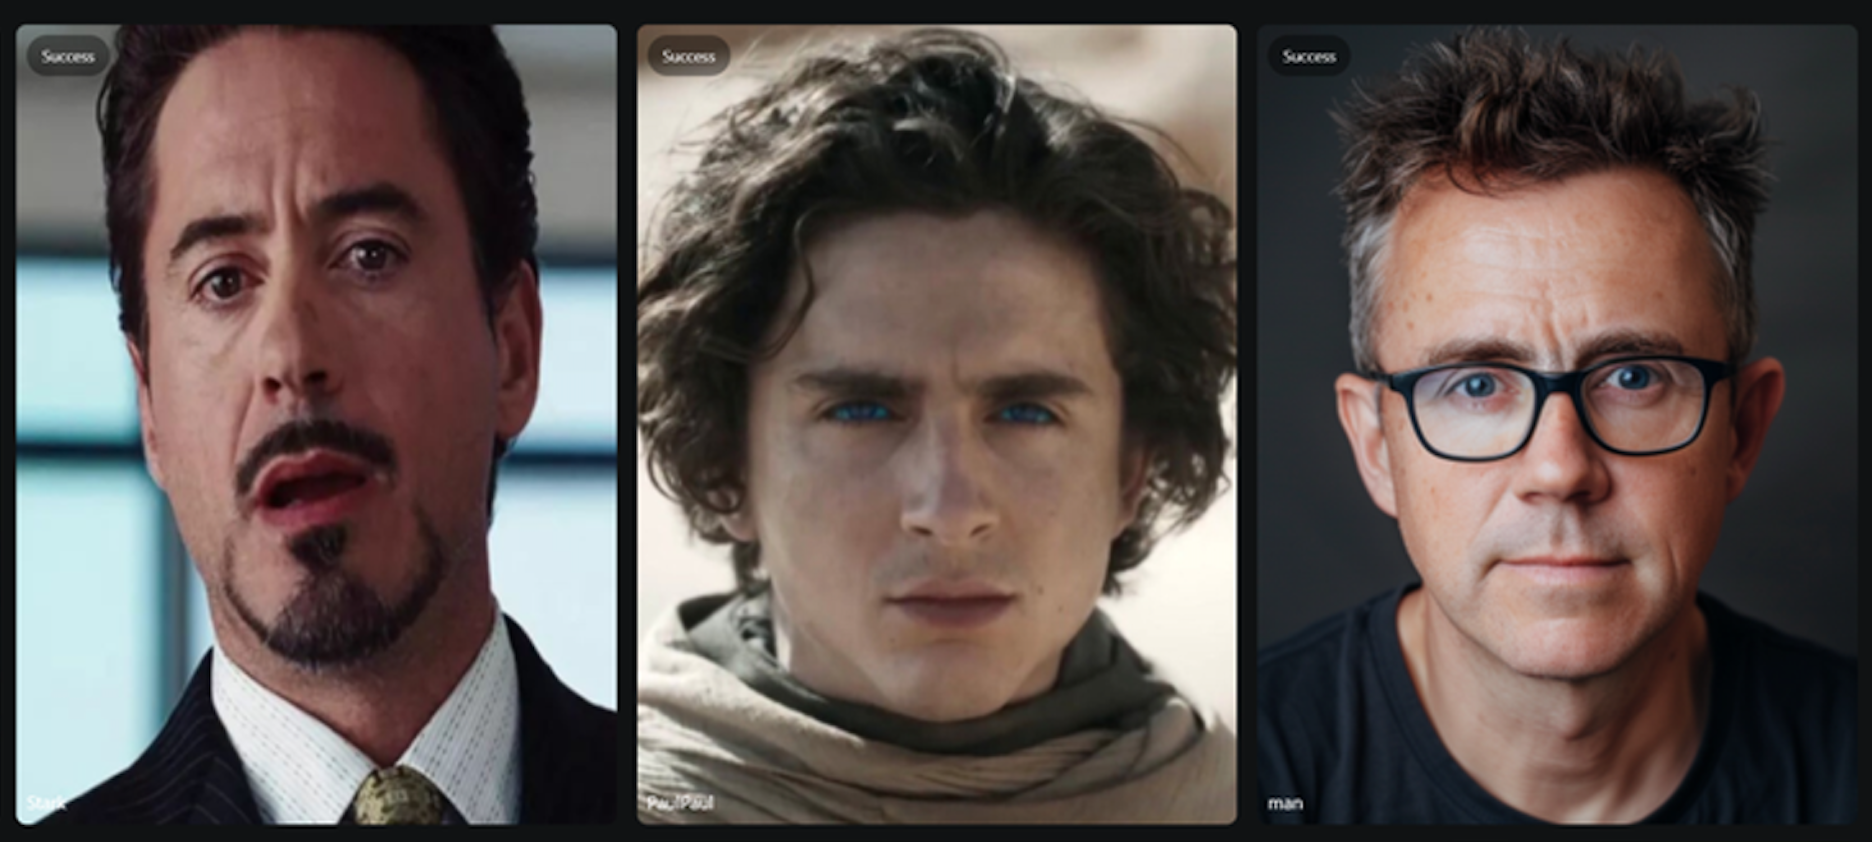
- Character Creation Time: Expect the character creation process to take approximately 20 seconds. Please wait patiently during this period.
- Completion Notification: Once the
Successmessage is displayed on the screen, indicating that the character has been successfully created. - Proceed to Creation Page: After seeing the success notification, click on the
Createbutton to advance to the creation page where you can view or further customize your character.
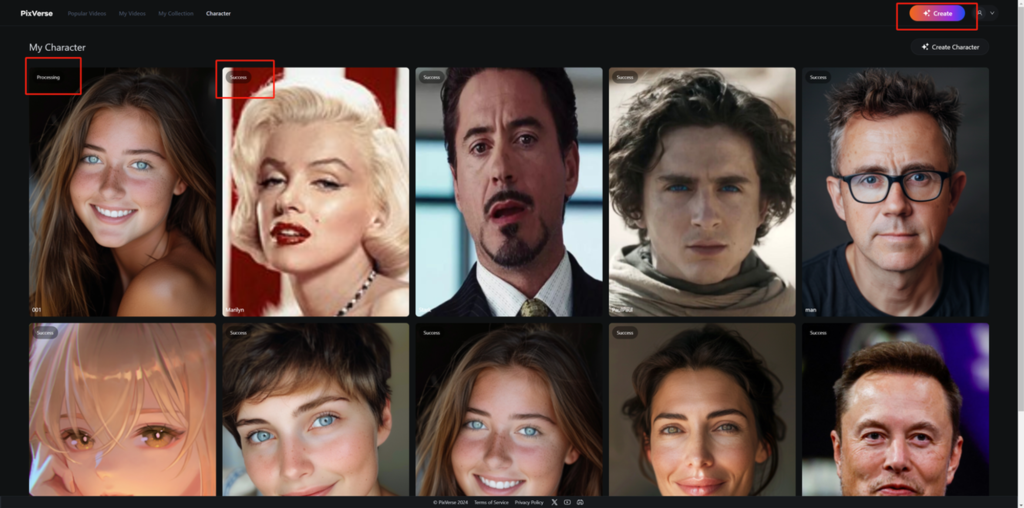
Tip: Ensure you wait for the Success message before proceeding to the create page. If you navigate to the creation page too early, the character you created may not appear. Should this happen, please wait an additional 10 to 30 seconds to allow for the character creation process to fully complete.
5. Click Character label on the Create page
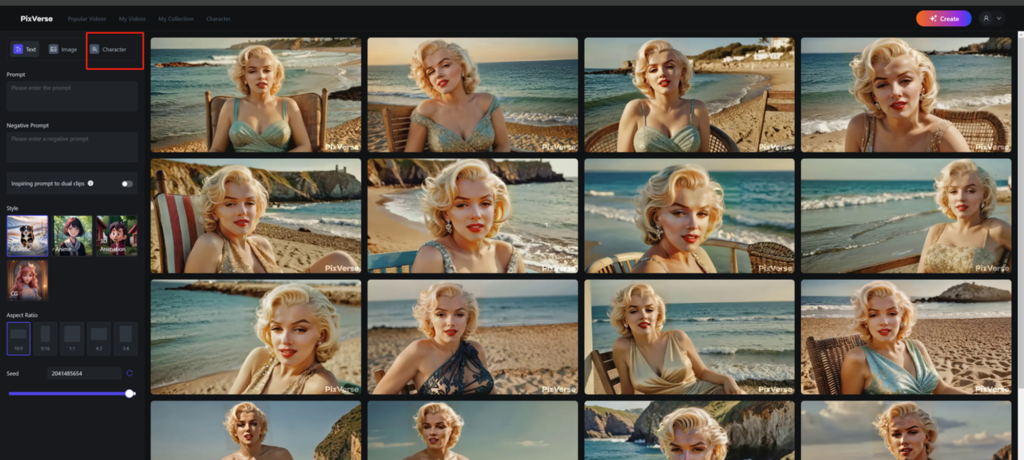
6. Completing Your Production
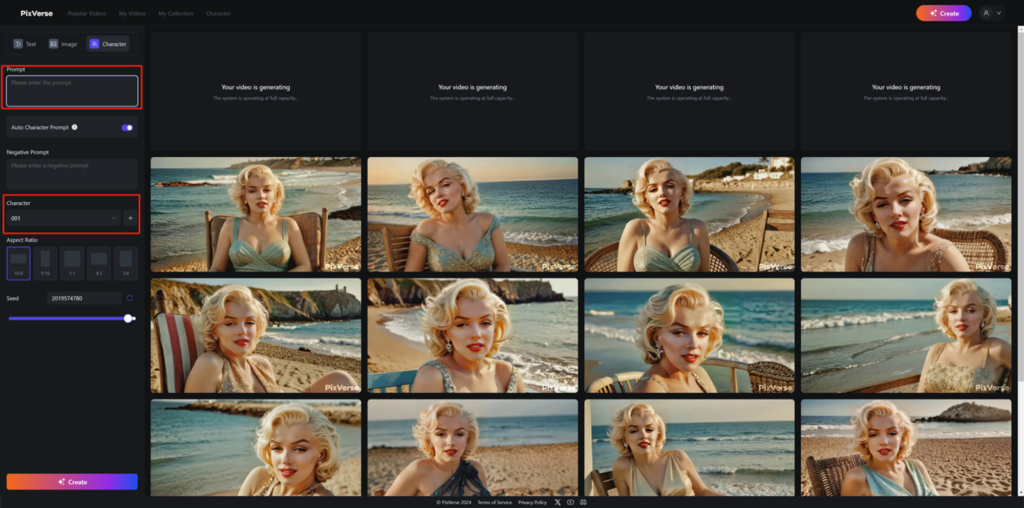
- Select Your Character: From the dropdown menu, choose the character that you have created.
- Enter Your Prompt: Type in the prompt or message you want your character to display or represent.
- Choose Aspect Ratio: Select the desired aspect ratio for the final output to ensure it fits your specifications.
- Finalize Creation: Click on the “Create” button to finish the production process. Note that the Auto Character Prompt feature is activated by default to assist with generating suitable prompts for your character.
Optimizing Character Creation: Essential Tips
Ideal Shot Types
The Character function excels with medium and close-up shots. To leverage this, include specific descriptors like “upper body” or “super detailed face” in your prompts. Avoid suggesting overly broad actions to ensure optimal rendering.
Consistency in Character Appearance
For a consistent portrayal of your character’s height and overall appearance, provide detailed physical descriptions in your prompt. Mention characteristics such as gender (male/female), hair length (long/short), and other distinguishing features to help refine the character’s representation.
Note: In Character mode, videos will automatically feature the selected Character, even if the prompt doesn’t specifically mention them. For generating videos without any characters, such as landscapes or scenery, please use the generative video function instead.
Auto Character Prompt on PixVerse
Enabling Auto Character Prompt: Activate this feature by turning on the designated button. This allows the system to automatically append a detailed prompt that retains most of your character’s features.
Customizing Character Details: If you wish to alter the traits of your existing character, consider deactivating the Auto Character Prompt option. This will give you the flexibility to manually adjust the characteristics as desired.
Try now at: https://app.pixverse.ai/
Read related articles: